Nextcloud is a self-hosted alternative to Google Drive. With CapRover, deploying your own instance takes about 10 minutes using the built-in one-click app. This guide covers the full setup, upgrades, and how to deal with maintenance mode.
Why using Nextcloud instead of something like Google-Drive
Nextcloud keeps your files on your own hardware: no third-party access, no advertising-driven data scanning. Unlike Google Drive, you control where data is stored and who can access it.
It also includes collaboration features: document editing, video conferencing, and real-time file syncing are all built in.
The tradeoff is that you handle upgrades and maintenance yourself. This guide covers that too.
Prerequisites
You need a server with a CapRover setup already. You can read how to do that in my previous post “Setting up Self-Hosting with CapRover”.
Nextcloud installation through CapRover One-Click-App
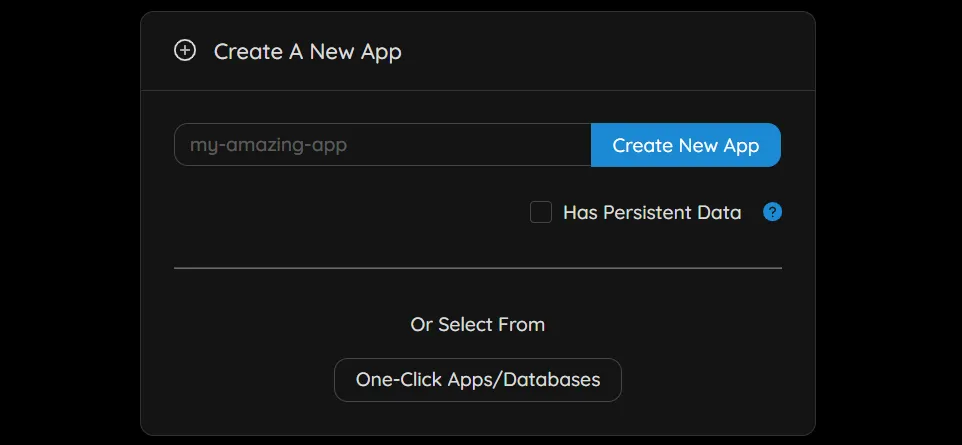
Log into your CapRover Web Dashboard and go to the “Apps” overview. Click the “One-Click Apps/Databases” Button.
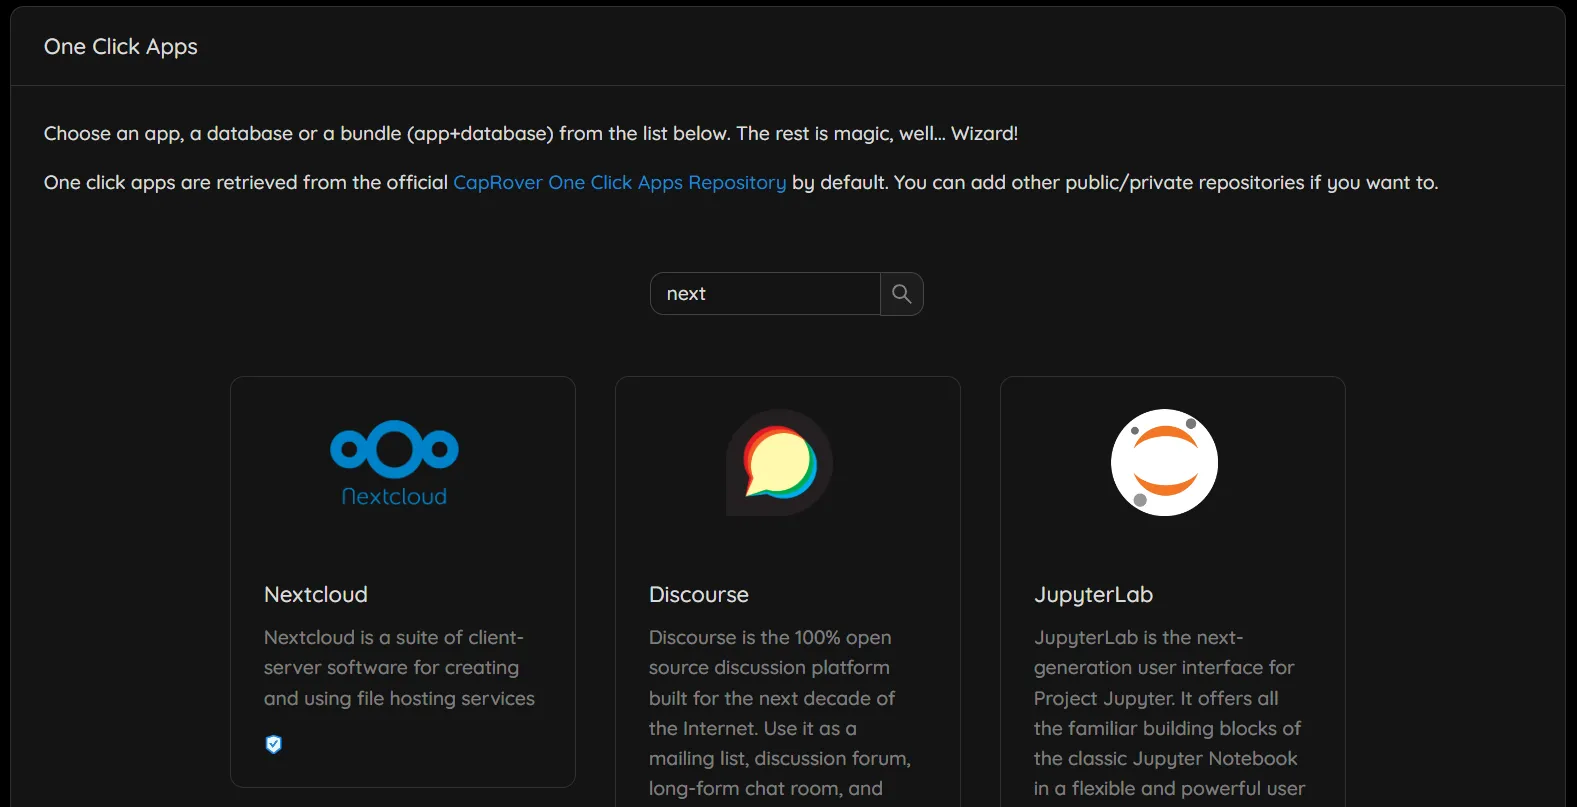
Search for Nextcloud and select it.
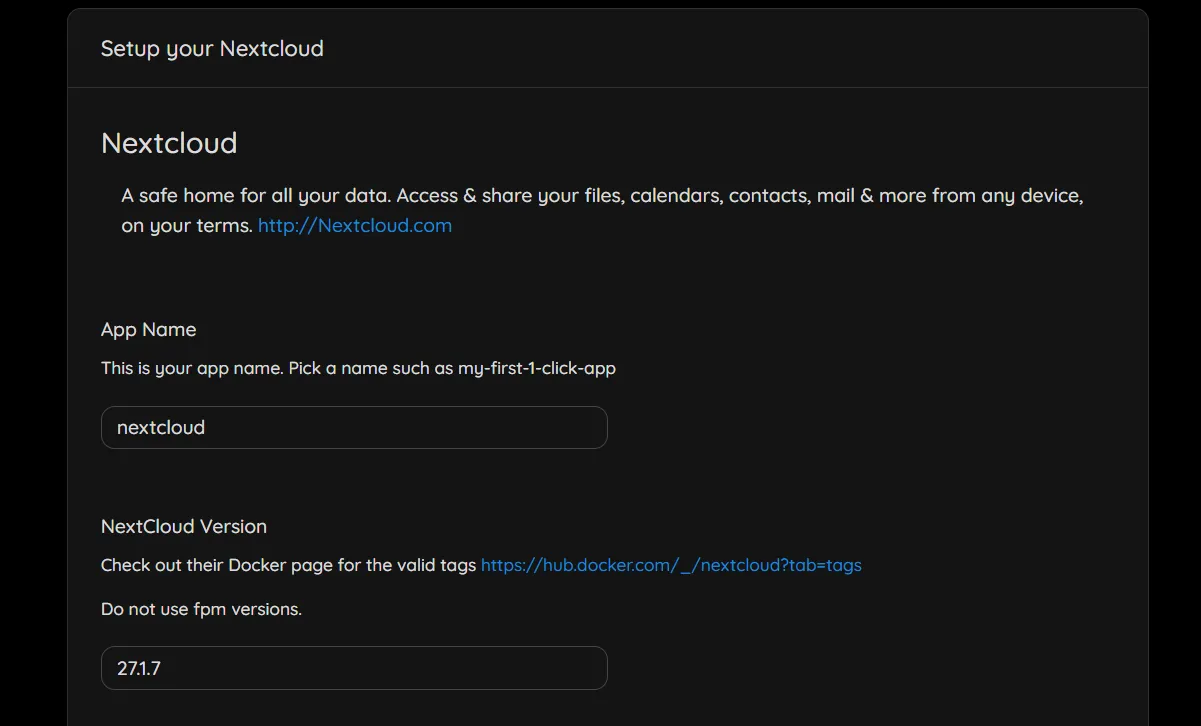
In the following form give your app the name nextcloud. Take a look on Docker Hub to check which is the newest Nextcloud version available (⚠️ do not use fpm versions, just go for the ones with just numbers).
Insert the newest available tag name as version (e.g. 27.1.7). Keep in mind that the very latest release might not be 100% stable, I would recommend to go for one version lower.
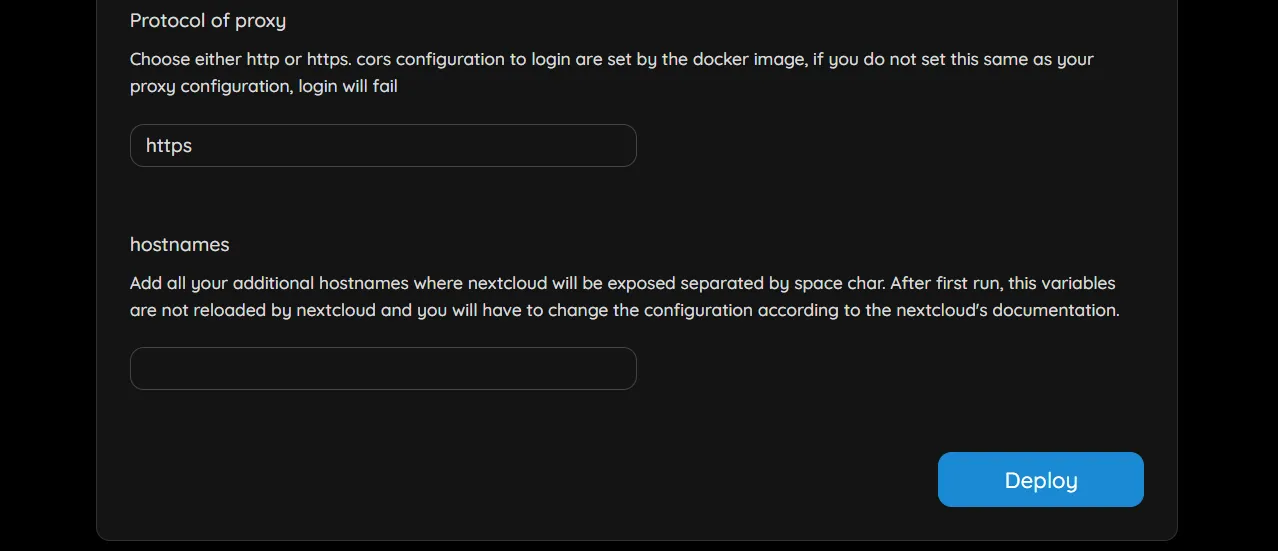
Now fill in the remaining required variables for the setup and click “Deploy”.
Wait for finishing the deployment and go to the apps overview and open the “nextcloud” app you just created.In the app configuration menu activate HTTPS on the application.
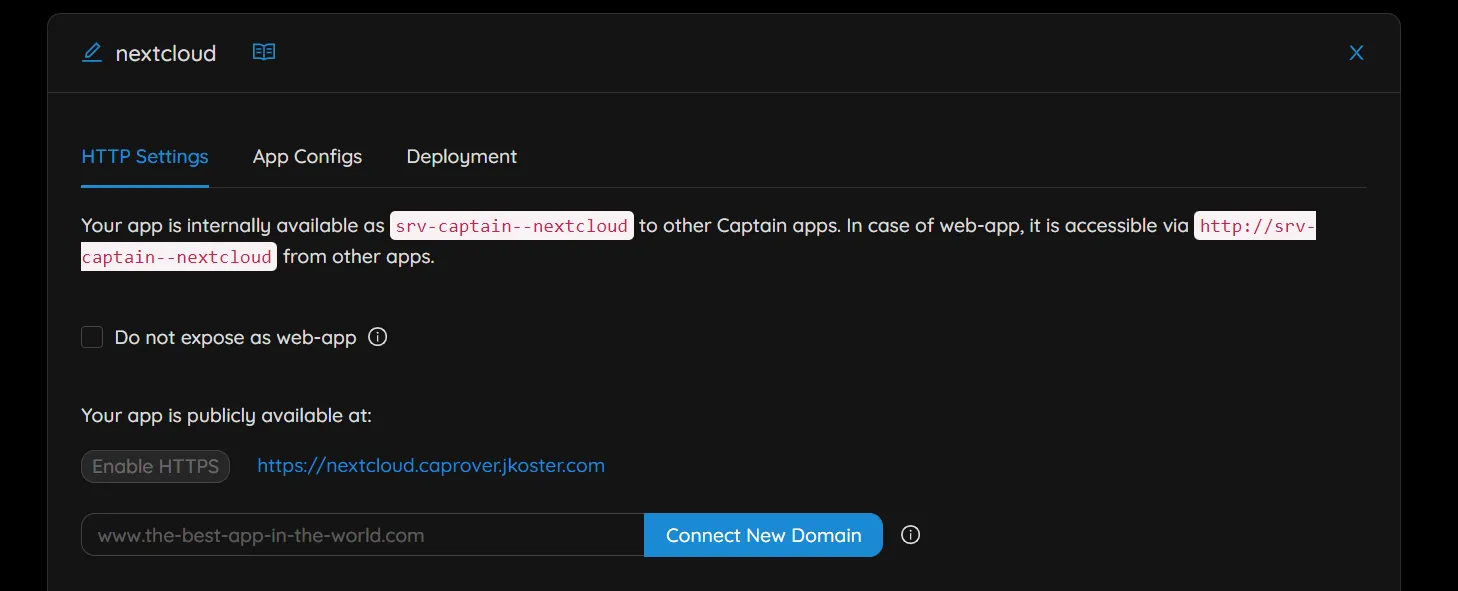
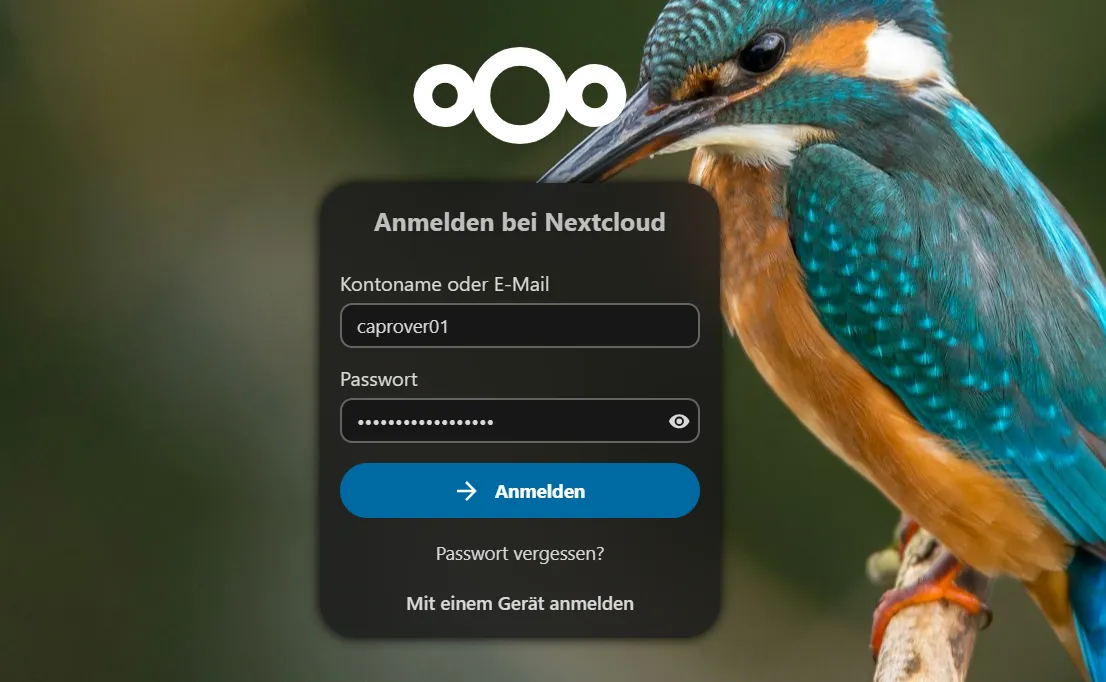
Log into Nextcloud instance by clicking the link next to the app in the apps overview, the adress will be e.g. https://nextcloud.<caprover_subdomain>.your-website.com/.
Congratulations you now have a working cloud storage service 🥳.
As next steps you can download the Nextcloud Client for your computer or from the AppStore of your phone and connect your devices. Enjoy you personal cloud!
Improve performance and compliance
When you open the “nextcloud” app in your CapRover dashboard you might see some instructions there like the following:
For better performances and compliance, click on “edit default nginx configuration” button then below “
proxy_set_header X-Forwarded-Proto $scheme;” add “add_header Strict-Transport-Security "max-age=15552000; includeSubDomains" always;” into the nginx configuration. You can see HSTS parts of the nextcloud security documentation and https://docs.nextcloud.com/server/21/admin_manual/installation/harden_server.html for further information.
Adjust the nginx config only after doing a manual backup of the default configuration in case something goes wrong!
Upgrading Nextcloud Instance
After some time you’ll want to update your Nextcloud app. CapRover makes this straightforward. Just keep in mind that when you are upgrading Nextcloud you can only upgrade to one major version release higher than your current version.
This means if e.g. you are on the version 26.0.0 and you want to upgrade to 28.0.0 that you first have to upgrade to 27.0.0 and then do the same thing again for 28.0.0.
That’s because with Nextcloud you cannot “jump from 26 to 28 at once”, otherwse you will have migration issues.
1. Backup files from Docker Image
I never had any issues so far but it is always a good idea to back up your data before you upgrade.
The path to files stored in Nextcloud inside your docker container is /data/admin/files.
You can copy the files for backup like this:
sudo docker container ls # get container ID
sudo docker cp <container_id>:/data/admin/files /backup/destination/path
(Optional, only if doing full reinstall)
You can skip this step if you just do a simple version upgrade. If your want to do a complete new installation then you need to delete the docker containers. Delete all docker containers regarding nextcloud and delete volumes:
sudo docker volume rm captain--nextcloud-data2. Upgrade Image
- Go to Nextcloud Instance on Caprover > Select “Deployment” and scroll down to “Method 6: Deploy via ImageName”.
- Check the available Nextcloud versions on Docker Hub.
- Make sure to also check the version requirements regarding the Database and Redis.
- Make sure to only upgrade by one major version (26->27, 27->28)
- Input the docker image name:versiontag (nextcloud:27.1.4) into the input and run “Deploy”
- Wait until upgrade is deployed and the server ran the migration scripts successfully.
- Check the app logs for errors.
- Done
(Optional if doing full reinstall)
Copy backup files back to the Nextcloud Docker into the folder /data/admin/files with docker cp.
Scan Nextcloud instance for new files:
sudo docker exec -ti --user www-data <dockerid/app-name> /var/www/html/occ files:scan --allTurn off Nextcloud maintenance mode
For more information on this topic you can read here.
If your Nextcloud should ever go for whatever reason into maintenance mode and it does not go away you can do the following:
Access container shell:
sudo docker container ls # get container ID
docker exec -it <container_name_or_id> bash
There are two ways to set Maintenance Mode on or off:
- via
config/config.php- go to your nextcloud folder and then open config/config.php
- search for
'maintenance' => true, - change
truetofalse - save your changes
- reload your web page
- via
occcommand on the command line- find out the user which runs the web server (usually www-data, http or apache)
- if you don’t know how, copy and paste the following command and execute it:
ps -ef | grep -Ei "apache|nginx" | grep -Ev "grep|root" | awk '{print $1}' | sort | uniq
- if you don’t know how, copy and paste the following command and execute it:
- go to your nextcloud folder with cd (example:
cd /var/www/nextcloud) - as root user run the following command and replace WEBUSER with the username you just discovered:
sudo -u WEBUSER php occ maintenance:mode --off(for example:sudo -u www-data php occ maintenance:mode --off)
- find out the user which runs the web server (usually www-data, http or apache)